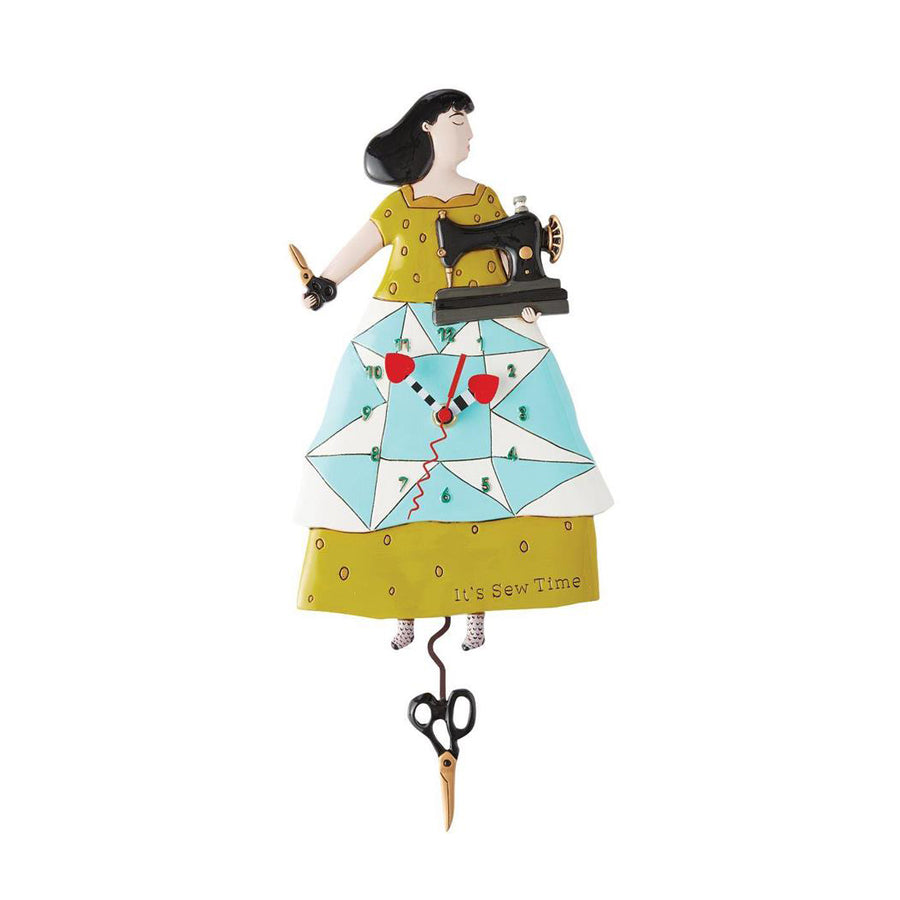
Allen Designs: Pretty Kitty White Clock
No reviews
Regular price
$74.00
$74.00
Regular price
Sale price
$74.00
$74.00
Save $-74
/

Hey ya, Pretty Kitty! This white cat is sitting so daintily with her crown of colorful flowers atop her head. Her bright blue eyes and dark lashes seem to sparkle with joy. We understand, Pretty Kitty, because we love flowers too!
![]()
![]()
![]()
![]()

Shop Pay Bi-Weekly Installments
The estimated payment amount excludes taxes and shipping. Payment options are offered by Affirm and are subject to eligibility check and might not be available in all states. California residents: Affirm Loan Services, LLC is licensed by the Department of Business Oversight. Loans are made or arranged pursuant to California Financing Law license.
Payment options are offered by Affirm and are subject to eligibility check and might not be available in all states. California residents: Affirm Loan Services, LLC is licensed by the Department of Business Oversight. Loans are made or arranged pursuant to California Financing Law license.
Shop Pay Monthly Installments
Rates from 0% APR or 10-30% APR. Payment options through Shop Pay Installments are subject to an eligibility check and are provided by these lending partners: [affirm.com/licenses]. Options depend on your purchase amount, and a down payment may be required. State notices to consumers [affirm.com/licenses]
Pre-Orders with Affirm
If you finance your purchase with Affirm, your first payment is due approximately two weeks after your purchase is finalized. Please note that due to extended delivery times, your loan payment(s) may be due before you receive your purchase.
"About the Artist"
Michelle is the creative and business brain of Allen Designs. She has always had the dream of doing something big with her art, and at a Saturday Market, years ago, Michelle marked the start of what would become Allen Designs, a World of Whimsey. Her lack of schooling did not stop her from learning everything she needed to know to grow a successful business. There is no shortage of getting her hands “dirty” because she believes that is where the magic happens.
In her free time, she cherishes being with her family and grand babies. She also enjoys traveling, exploring and cycling with her husband, Gary. Michelle is always inspired by the beautiful and imperfect world around her.

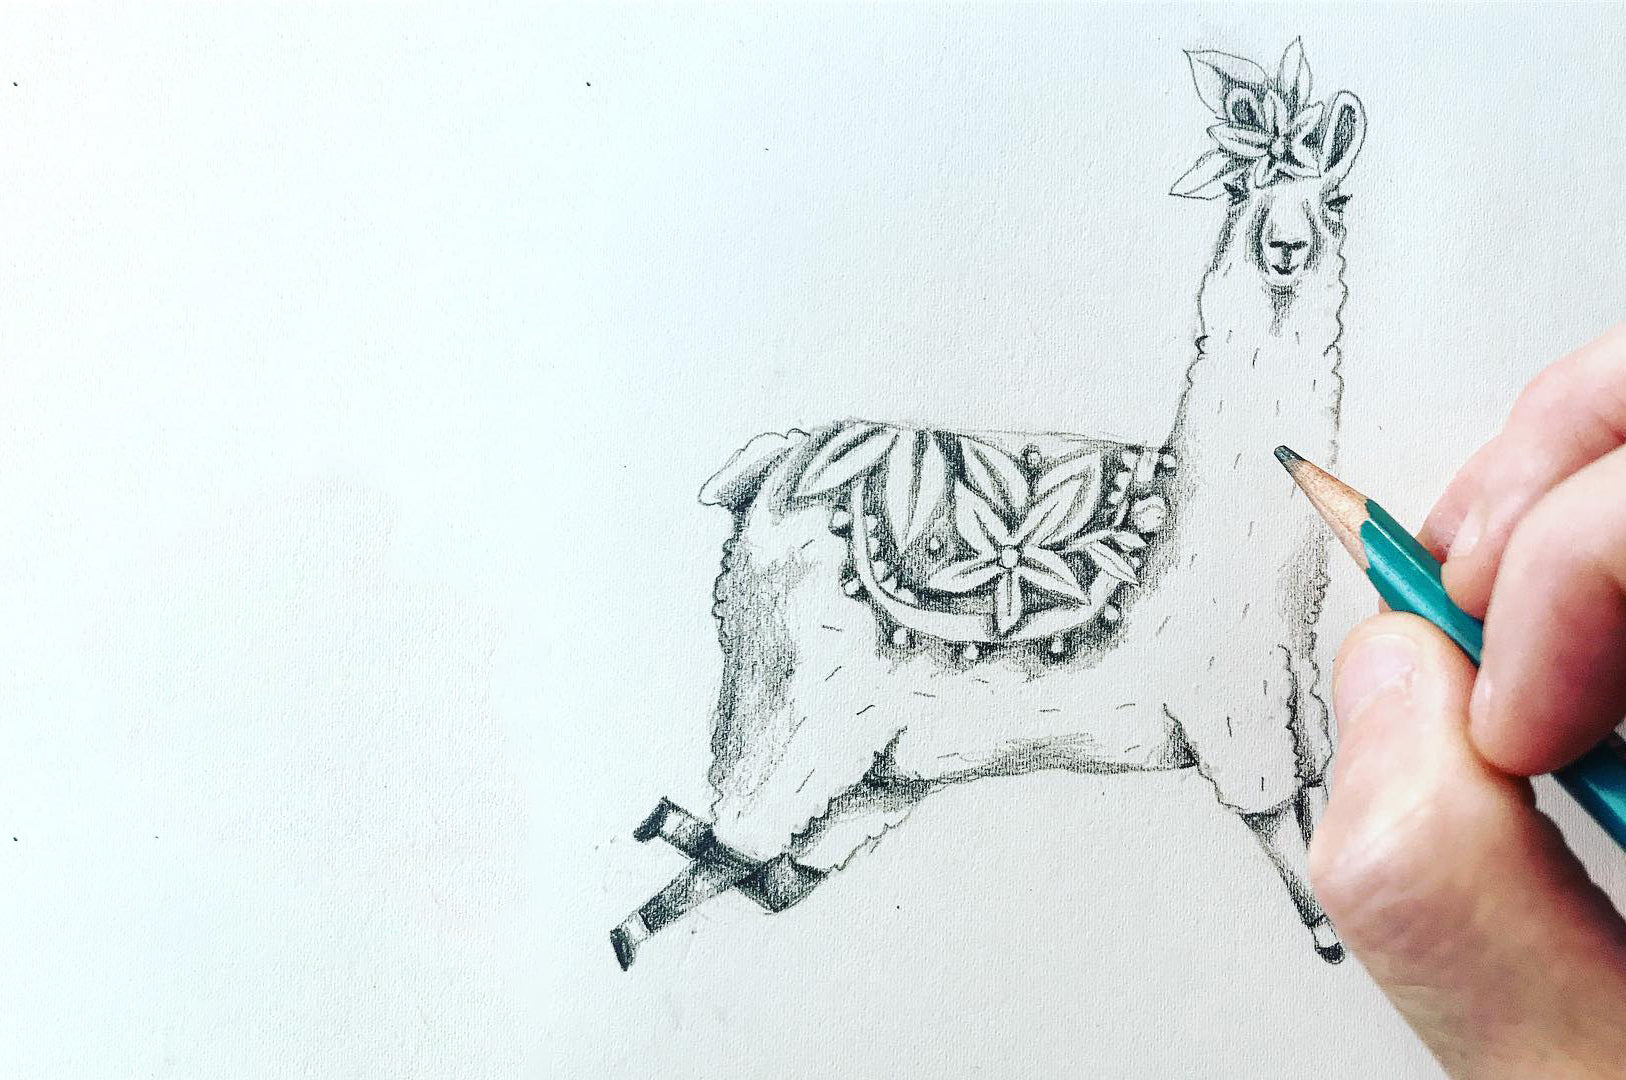
It Starts With A Sketch
Drawing inspiration from all around her, Michelle uses her creative talents to first sketch out her ideas. Not all design elements make it to the final product, but this is what makes her products so unique and worthwhile, you know that you will be getting something that took time and care to get just right.
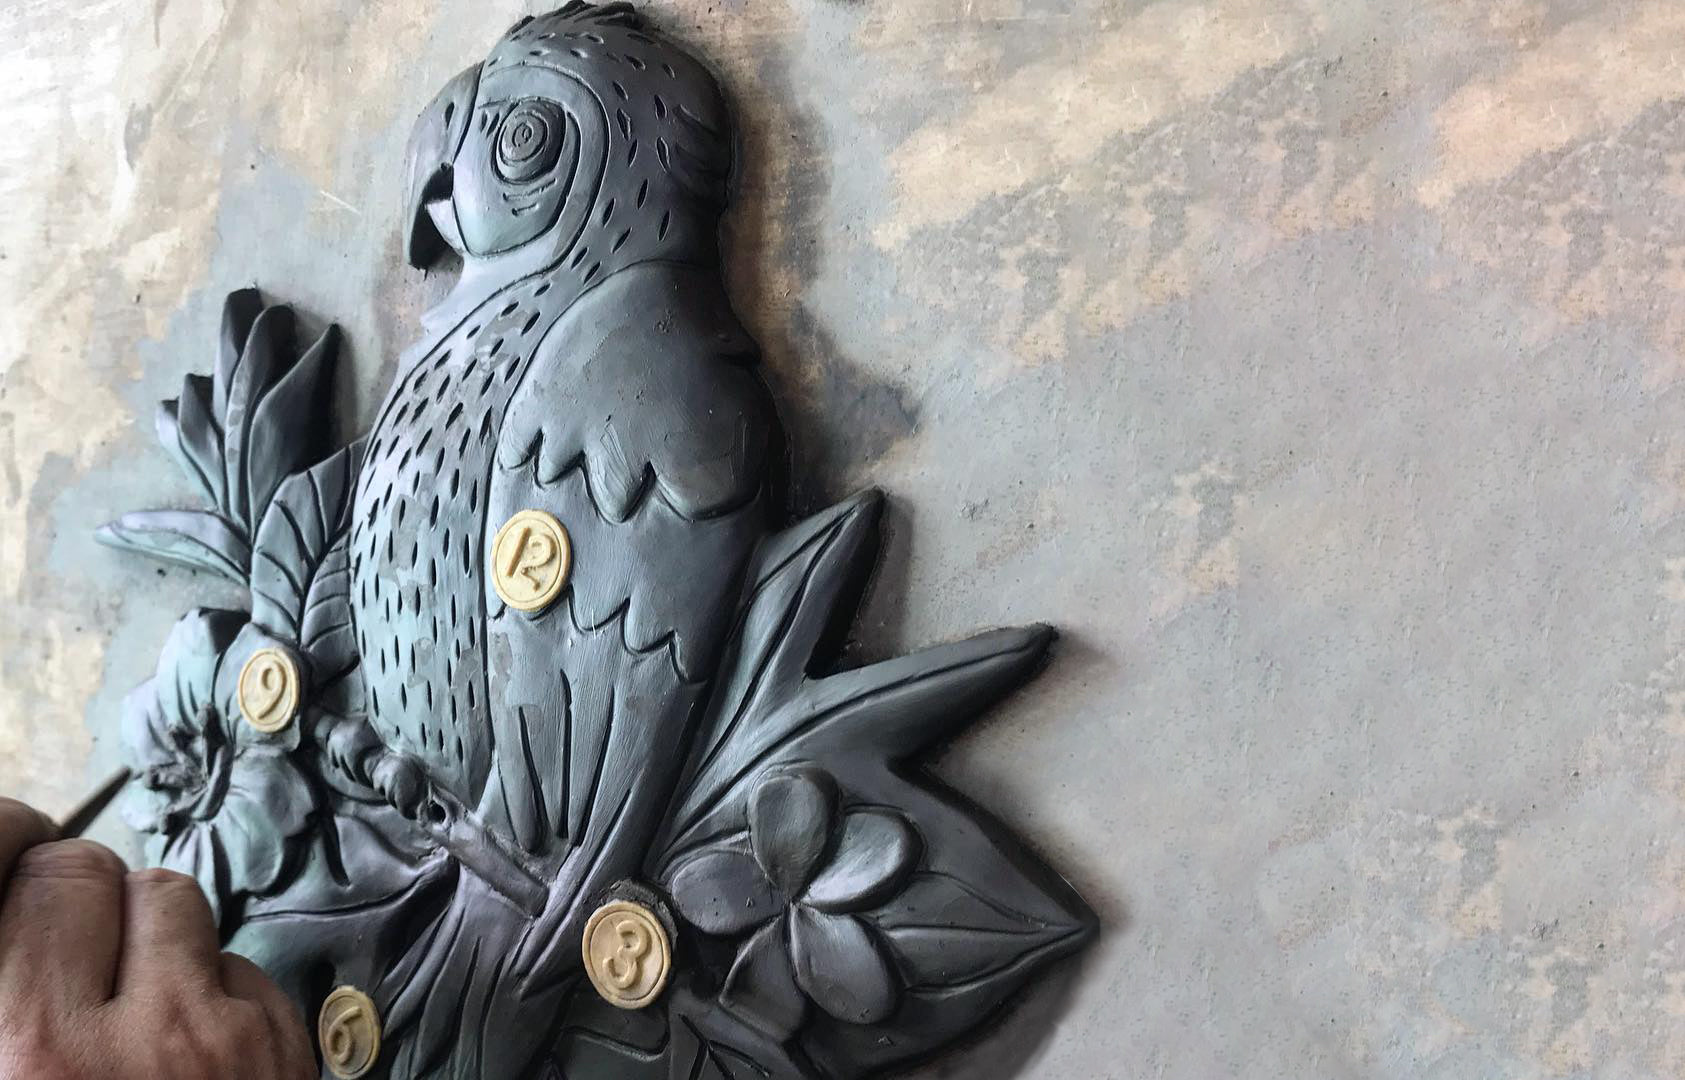
Art Takes Shape
Transferring the sketch from paper to final product is a long and labor intensive process. Using modeler's clay to define the texture and dimensions, the image comes to life and is that much closer to the decorative function that Michelle Allen is known for.
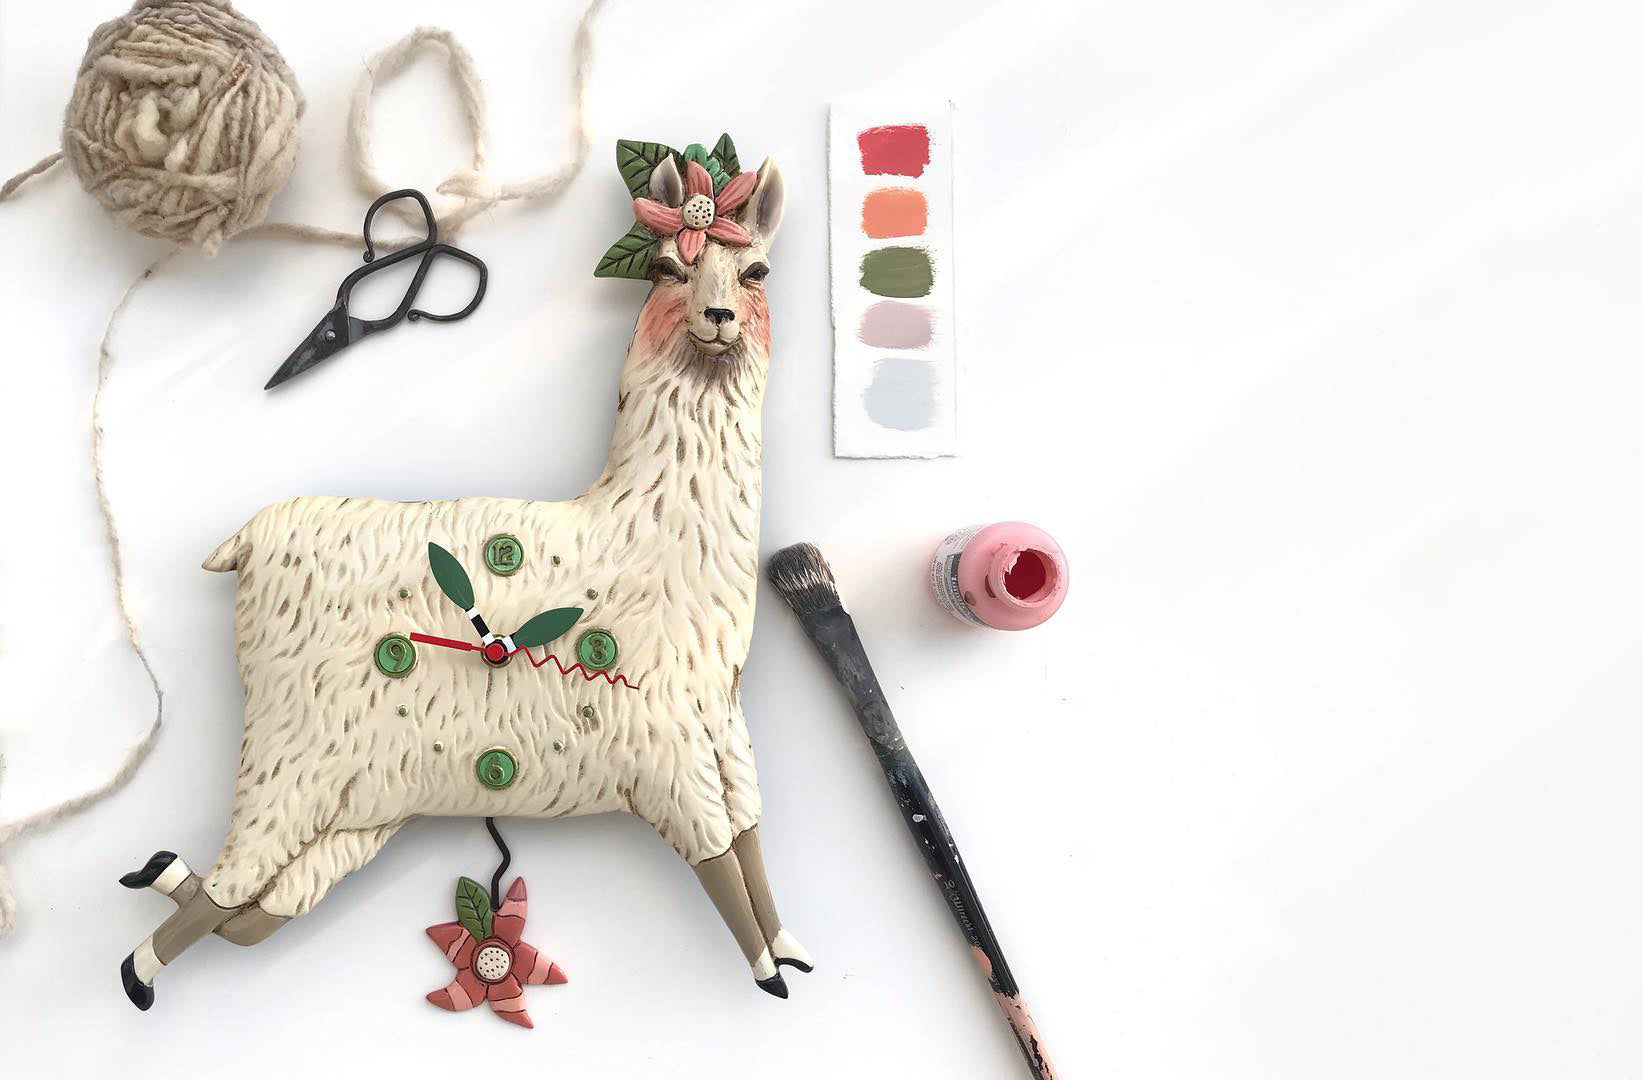
Hand-Painted Whimsy
After the template is completed and sent to the kiln to dry, the silicone mold is created so the final Polyresin casting can be done.
After curing is complete, it is sent to the skilled artisans to be hand-painted according to Michelle Allen's designs.
Watch a video explaining how to troubleshoot this issue.
Always try a new, fresh battery. The clocks have two separate functions, time keeping and pendulum swinging. As the battery starts to fail, one function usually gives out before the other.
Check to make sure the positive end of the battery (nub end) is pointing down and the silk ribbon is not obstructing the connection between the battery and the mechanism. You may need to slightly pull on the silk ribbon to ensure the battery is making full contact with the mechanism.
Make sure the mechanism itself is vertical (straight up and down) -Taking into account some designs are asymmetrical and the mechanism may need to be slightly tilted to one side or the other to achieve proper balance.
Your nail or screw must be slightly tilted upward to hold the clock tight to the wall. (Nail should only be sticking out of the wall approximately 1/4".) Clock should be flush against the wall.
Make sure the swing arm is not hooked to the side post on back of mechanism. If so, gently push it to the left until it unhooks.
A jiggling or shaking pendulum, indicates the mechanism is not straight up and down on the back of the clock. Remove the pendulum before straightening. Please consider, some of the designs are asymmetrical and the mechanism may need to be slightly tilted to one side or another to achieve proper balance.
Watch a video on troubleshooting this issue.
The hands are on a tapered shaft, and most likely just need to be pushed back down firmly onto the shaft.
This is best accomplished by pressing down the bottom of each hand, starting with the hour hand. Press the hour hand firmly with thumb nails at the base of the hand, at the shaft. It should visually meet the brass. With the minute hand, repeat and press firmly, until it won't go any further. There will be a space between the hour and minute hand. (If you can't squeeze your fingers in between the minute and hour hand, it may be easier to remove all three hands and place them back on one at a time.) If the second hand was removed, gently tap into place. (If pushed on too hard, it can jam and affect the time keeping function.)
*TIP: Using the wheel on the back of the mechanism is the recommended way to set the time. Using the hands, increases the chance for hands to become loose
Make sure the second hand is clear of the other hands.
Remove the second hand and gently TAP it back into place. (Be sure to not push the second hand on too hard, otherwise it can jam or split, which will affect the time keeping function.)
**If after trying the above, the second hand is not ticking properly, a new mechanism and second hand is needed.
Your nail or screw must be slightly tilted upward to hold the clock tight to the wall. Nail should only be sticking out of the wall approximately 1/4".
** For large designs, a screw should be used and needs to go into a wall stud. A standard nail will NOT support this heavy design. Do not hang the clock above head level.
Insert a new, fresh battery from the package. This is best accomplished by putting the positive (nub end) in first, followed by a firm push to the negative end. Check to make sure the positive end of the battery is pointing down and the silk ribbon is not obstructing the connection between the battery and the mechanism. You may need to slightly pull on the silk ribbon to ensure the battery is making full contact with the mechanism.
Set time by using the dial on the back of the mechanism.Make sure the mechanism itself is vertical so the pendulum will swing properly (considering some clocks are asymmetrical and may need to be slightly tilted to one side or the other to achieve proper balance). Make sure the swing arm is not hooked to the side post on back of mechanism. If so, gently push it to the left until it unhooks. Carefully place pendulum on swing arm hanger.
Place clock on nail/screw. Be certain the hanger and braces are flush against the wall. Enjoy!